
Running FreeBSD on VirtualBox
Overview
Simple tips for installing FreeBSD in a virtual machine.
Note: This tutorial was done using the FreeBSD 11.0 release.
Because FreeBSD
People often ask me why I use FreeBSD, well I’ve always been a guy who used Unix at the time IBM-AIX and then I migrated to FreeBSD and started in version 3.0 and I use FreeBSD to this day as a workstation and server. I like the simple and easy things, also eventually use Linux and Mac for a specific project. I need to create a virtual machine for development tests and I decided to write a howto to show how simple it is to install FreeBSD so let’s go…
1. Preparing the working directory
Open your terminal and execute the commands below:
mkdir ~/work && cd ~/work
fetch ftp://ftp.freebsd.org/pub/FreeBSD/releases/ISO-IMAGES/11.0/FreeBSD-11.0-RELEASE-amd64-disc1.iso
OR
wget ftp://ftp.freebsd.org/pub/FreeBSD/releases/ISO-IMAGES/11.0/FreeBSD-11.0-RELEASE-amd64-disc1.iso
2. Creating the virtual machine
I’m considering that you already have Virtualbox installed.
- 2.1 Make sure you have FreeBSD 64
VBoxManage list ostypes | grep FreeBSD
ID:          FreeBSD
Description: FreeBSD (32-bit)
ID:          FreeBSD_64
Description: FreeBSD (64-bit)- 2.2 Makes an export with the VM ostype
export VM='FreeBSD_64' && echo $VM- 2.3 Creating a VDI with 30GB
VBoxManage createvm --name $VM --ostype $VM --register- 2.4 Adding a SATA controller
VBoxManage storagectl $VM --name "SATA Controller" --add sata --controller IntelAHCI
VBoxManage storageattach $VM --storagectl "SATA Controller" --port 0 --device 0 --type hdd --medium $VM.vdi- 2.5 Make sure your HD has been created
VBoxManage list hdds | grep $VM- 2.6 Adding the IDE drive is the ISO image
VBoxManage storagectl $VM --name "IDE Controller" --add ide
VBoxManage storageattach $VM --storagectl "IDE Controller" --port 0 --device 0 --type dvddrive --medium ~/work/FreeBSD-11.0-RELEASE-amd64-disc1.iso- 2.7 Changing the boot order and memory for VM.
VBoxManage modifyvm $VM --boot1 dvd --boot2 disk --boot3 none --boot4 none
VBoxManage modifyvm $VM --memory 4000 --vram 16- Start FreeBSD Virtual Machine
VBoxManage startvm $VM --type guiIf all went well, you should see this image to start the installation:
- Screen 1
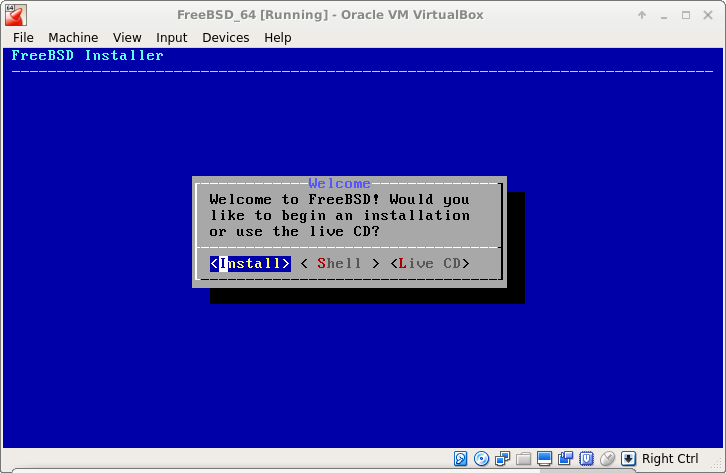
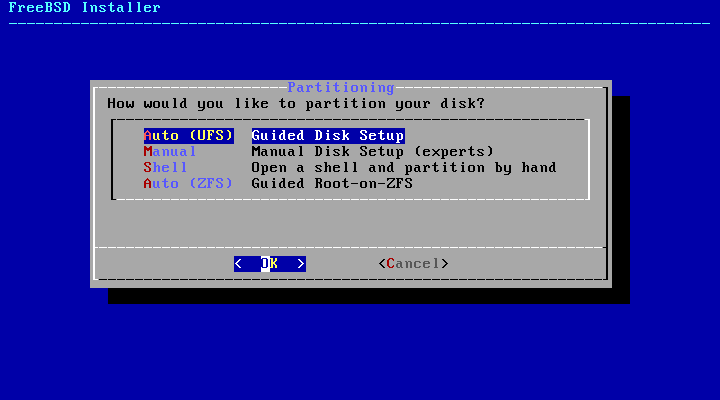
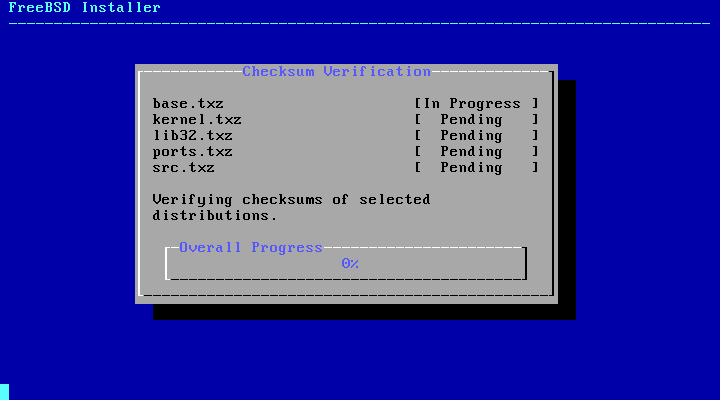
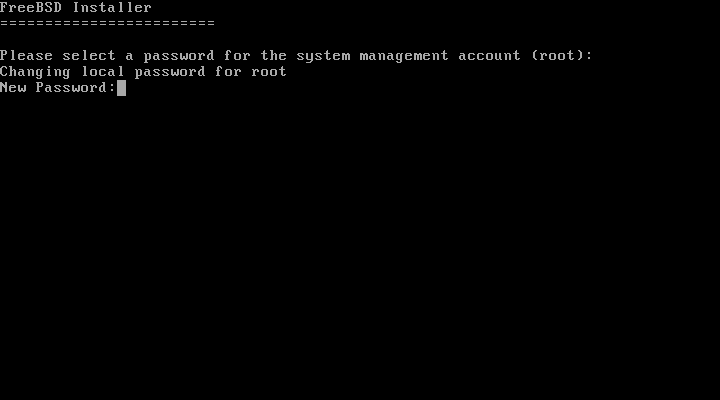
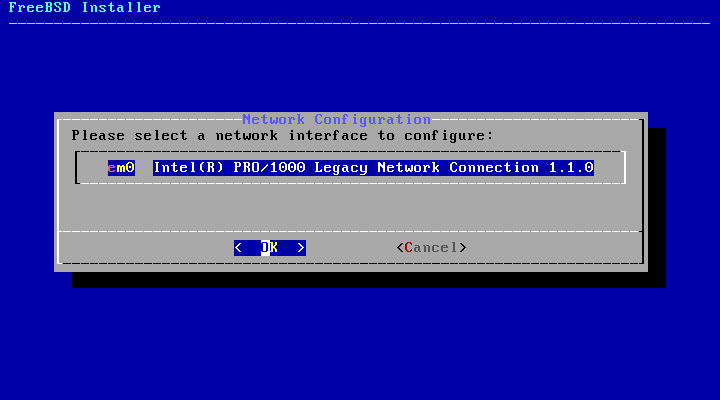
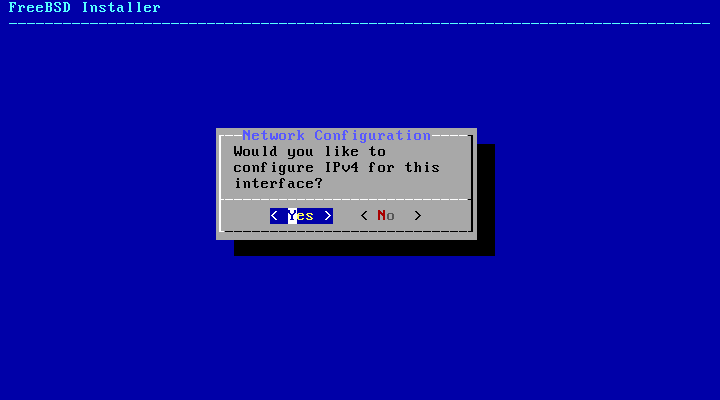
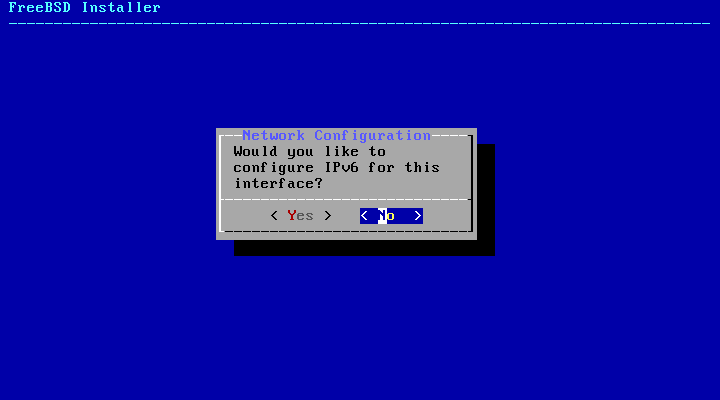
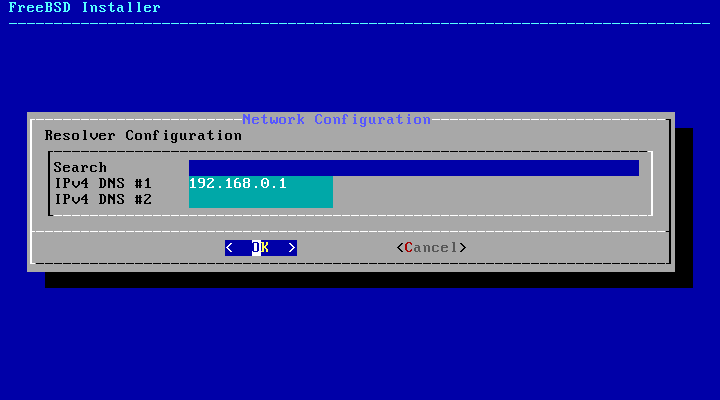
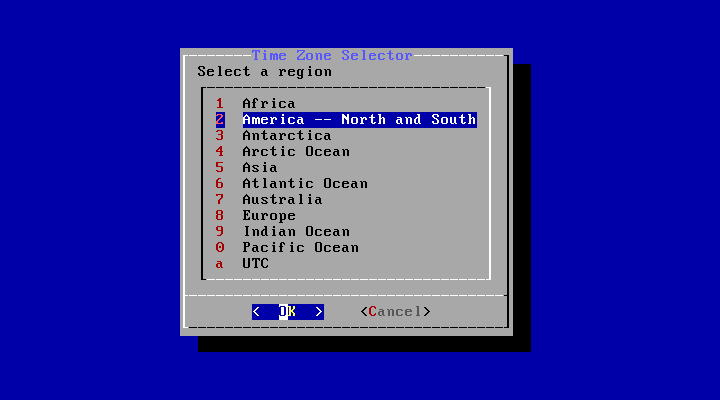
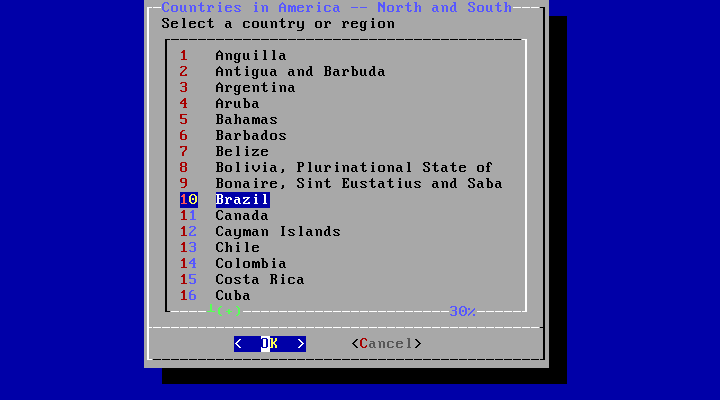
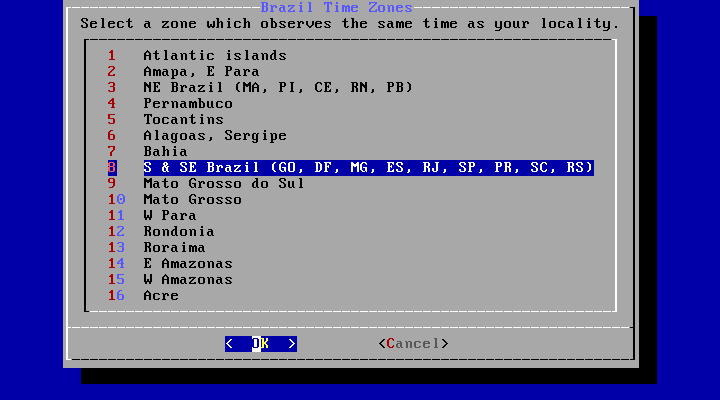
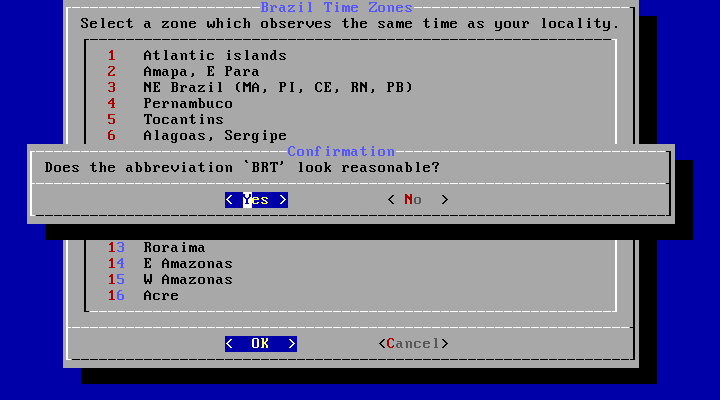
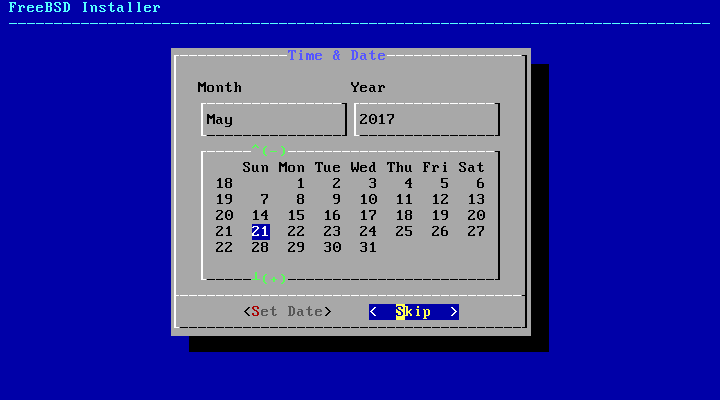
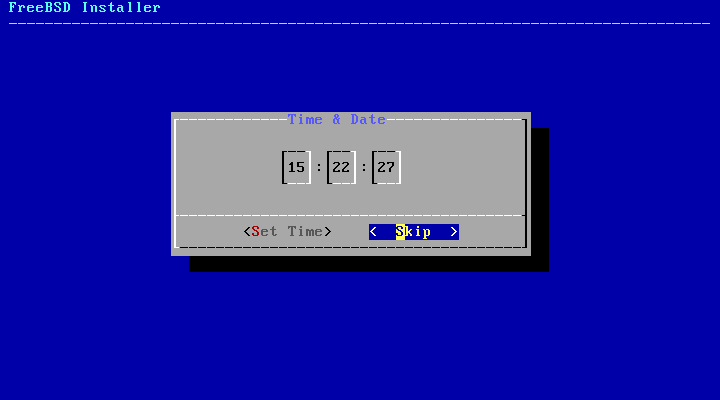
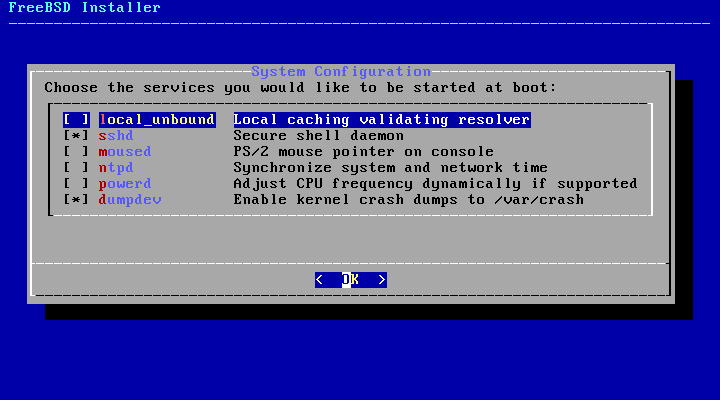
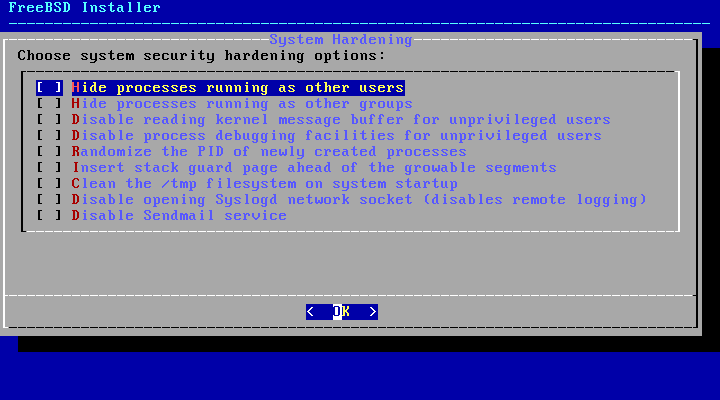
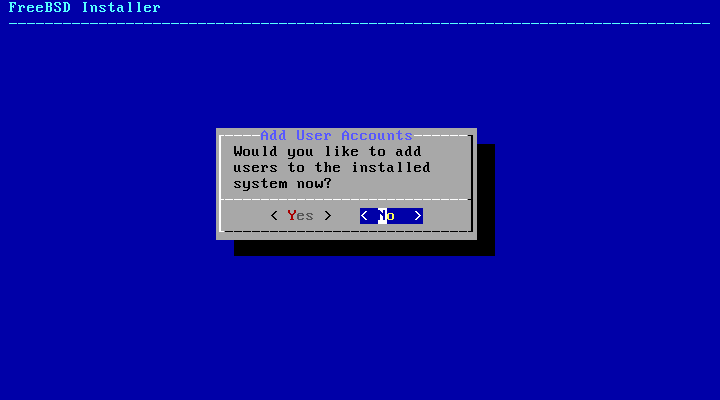
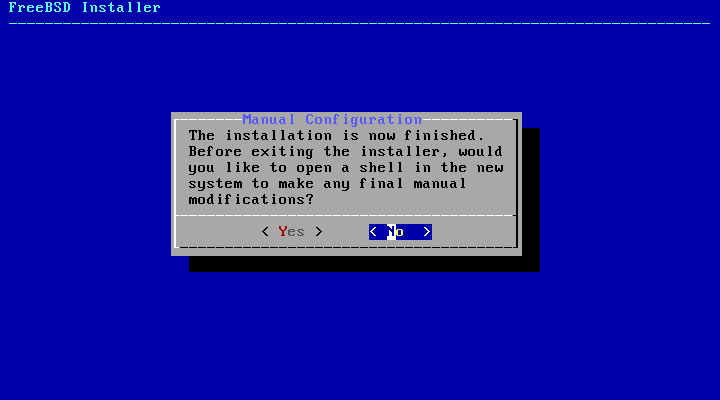
3. Following the screen step by step
I did print all the installation screens basically without any changes, just follow them all to finish.
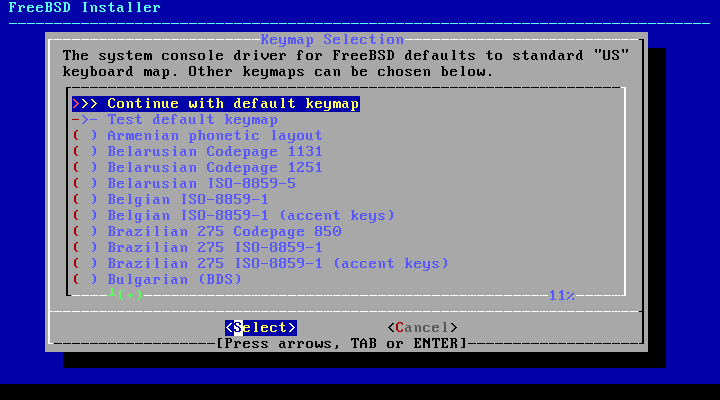
- Screen 2
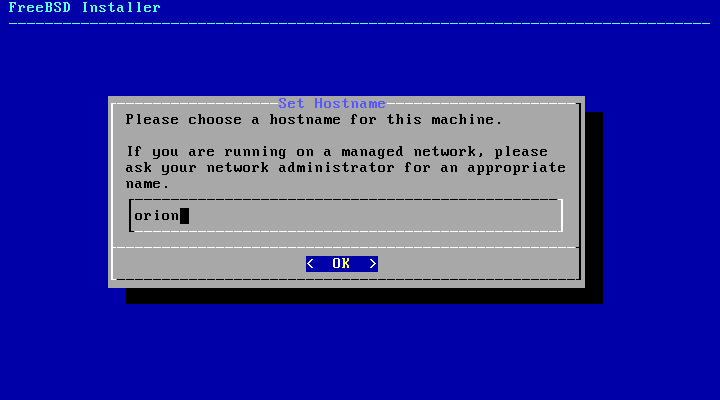
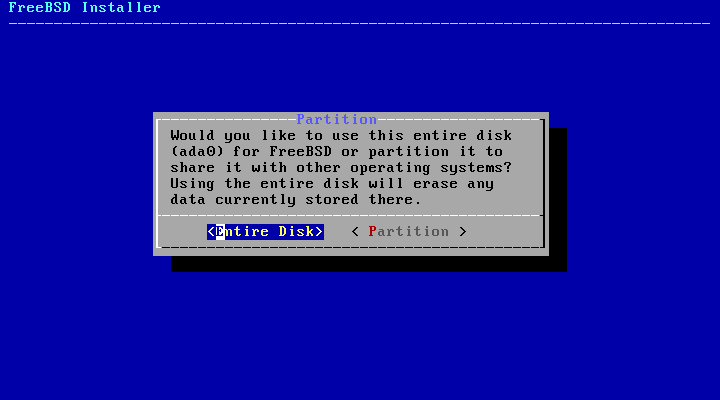
- Screen 3
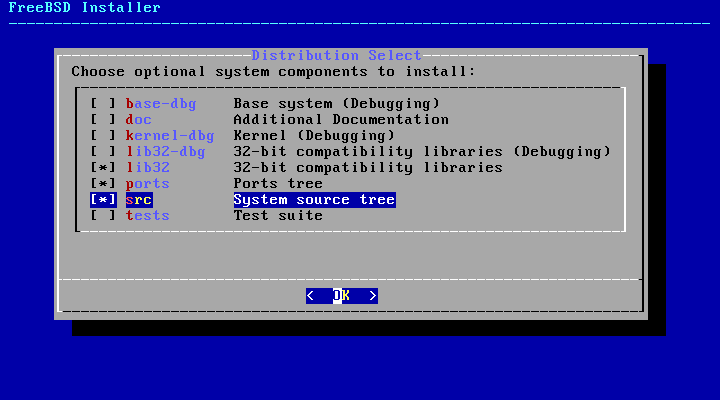
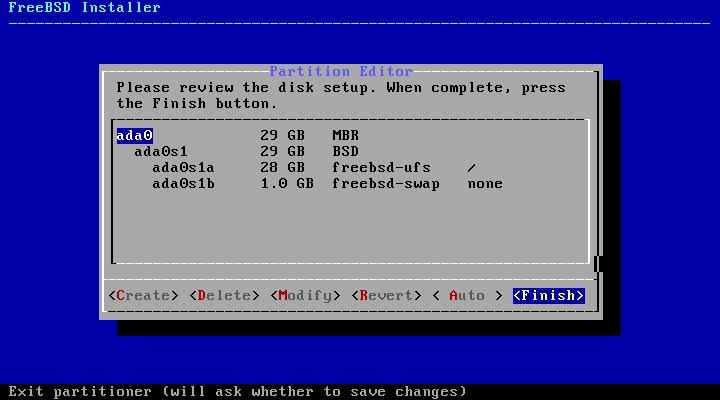
- Screen 4
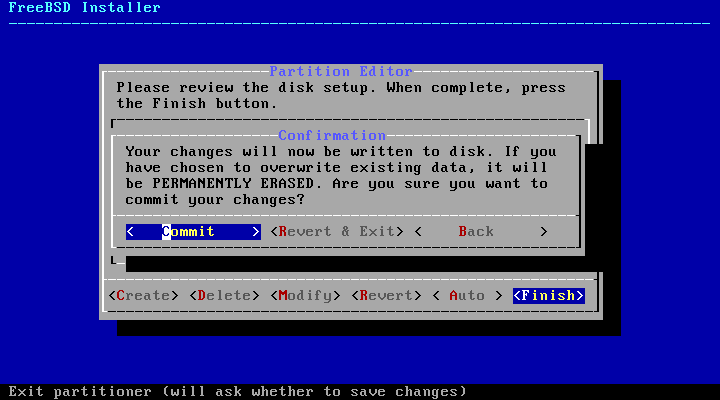
- Screen 5
- Screen 6
- Screen 7

- Screen 8
- Screen 9
- Screen 10
- Screen 11
- Screen 12
- Screen 13
- Screen 14

- Screen 15
- Screen 16
- Screen 17
- Screen 18
- Screen 19
- Screen 20
- Screen 21
- Screen 22
- Screen 23
- Screen 24
- Screen 25
- Screen 26

- Screen 27
- Screen 28
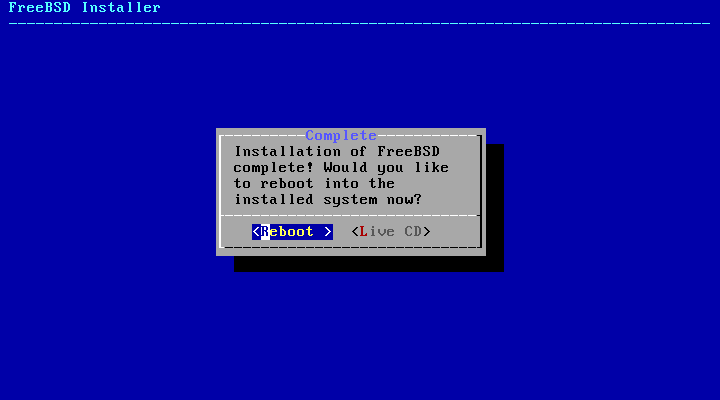
Ready! Now it is necessary to shut down the virtual machine and change the boot order again. Run the command:</p>
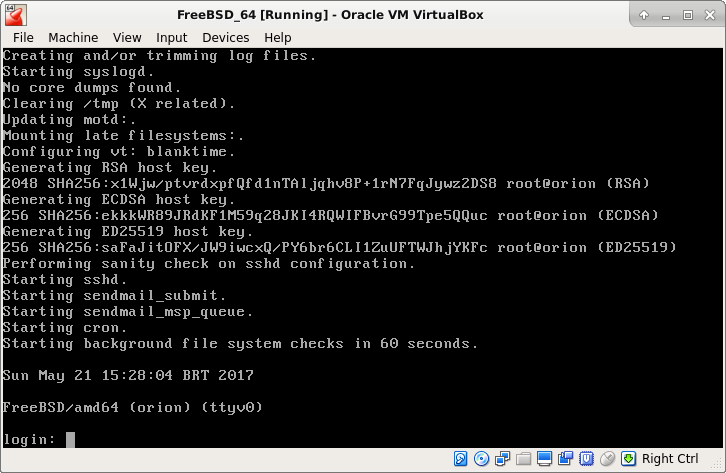
VBoxManage modifyvm $VM --boot1 disk --boot2 none --boot3 none --boot4 noneFreeBSD installed and running, have fun!
In case of doubts the documentation of the FreeBSD is quite updated see in: Handbook.