Simple tips for installing FreeBSD in a virtual machine.
Note: This tutorial was done using the FreeBSD 11.0 release.
People often ask me why I use FreeBSD, well I’ve always been a guy who used Unix at the time IBM-AIX and then I migrated to FreeBSD and started in version 3.0 and I use FreeBSD to this day as a workstation and server. I like the simple and easy things, also eventually use Linux and Mac for a specific project. I need to create a virtual machine for development tests and I decided to write a howto to show how simple it is to install FreeBSD so let’s go…
Open your terminal and execute the commands below:
mkdir ~/work && cd ~/work
fetch ftp://ftp.freebsd.org/pub/FreeBSD/releases/ISO-IMAGES/11.0/FreeBSD-11.0-RELEASE-amd64-disc1.iso
OR
wget ftp://ftp.freebsd.org/pub/FreeBSD/releases/ISO-IMAGES/11.0/FreeBSD-11.0-RELEASE-amd64-disc1.isoI’m considering that you already have Virtualbox installed.
VBoxManage list ostypes | grep FreeBSD
ID:          FreeBSD
Description: FreeBSD (32-bit)
ID:          FreeBSD_64
Description: FreeBSD (64-bit)export VM='FreeBSD_64' && echo $VMVBoxManage createvm --name $VM --ostype $VM --registerVBoxManage storagectl $VM --name "SATA Controller" --add sata --controller IntelAHCI
VBoxManage storageattach $VM --storagectl "SATA Controller" --port 0 --device 0 --type hdd --medium $VM.vdiVBoxManage list hdds | grep $VMVBoxManage storagectl $VM --name "IDE Controller" --add ide
VBoxManage storageattach $VM --storagectl "IDE Controller" --port 0 --device 0 --type dvddrive --medium ~/work/FreeBSD-11.0-RELEASE-amd64-disc1.isoVBoxManage modifyvm $VM --boot1 dvd --boot2 disk --boot3 none --boot4 none
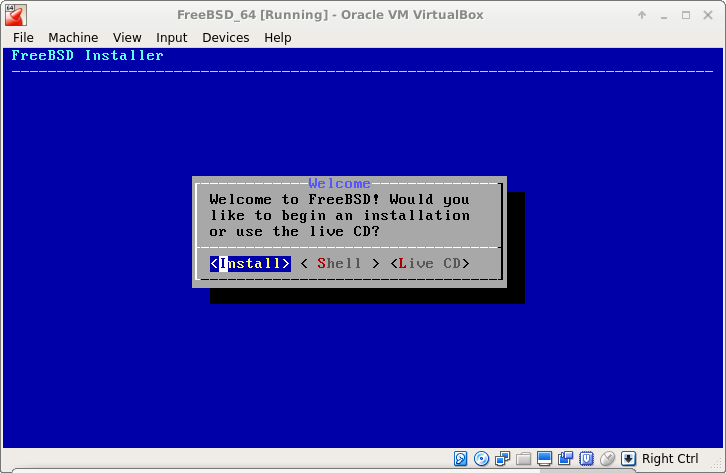
VBoxManage modifyvm $VM --memory 4000 --vram 16VBoxManage startvm $VM --type guiIf all went well, you should see this image to start the installation:
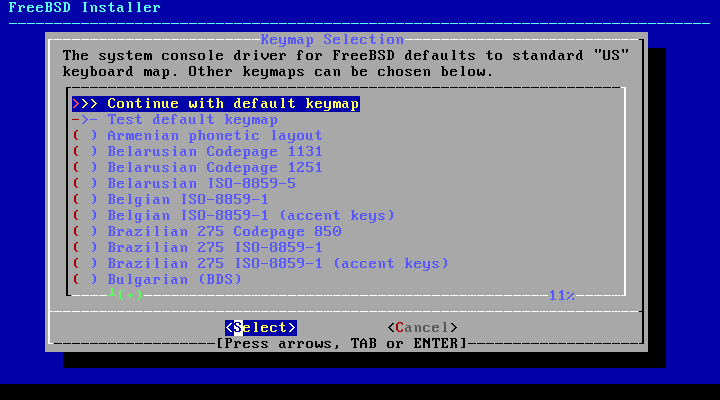
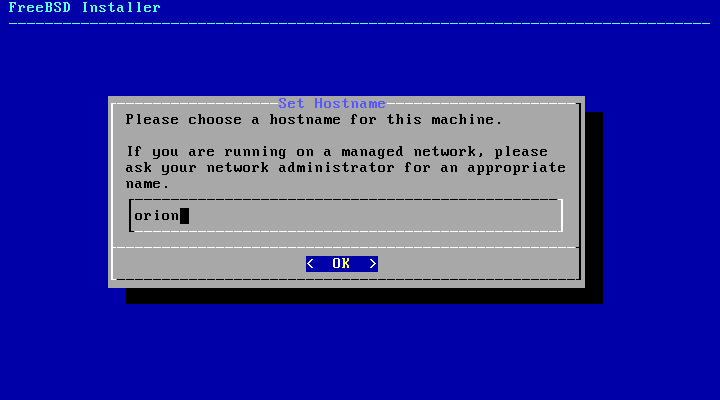
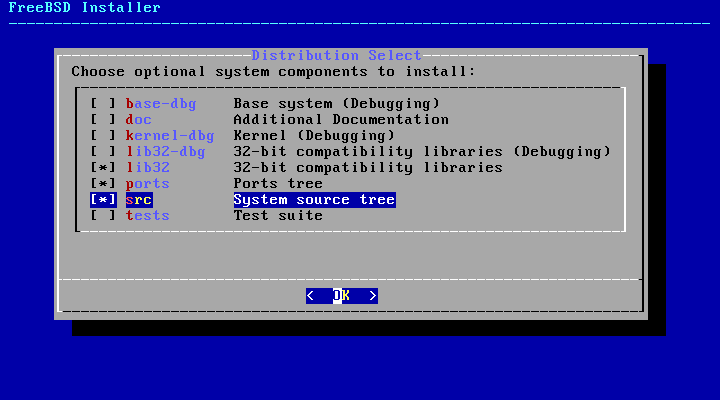
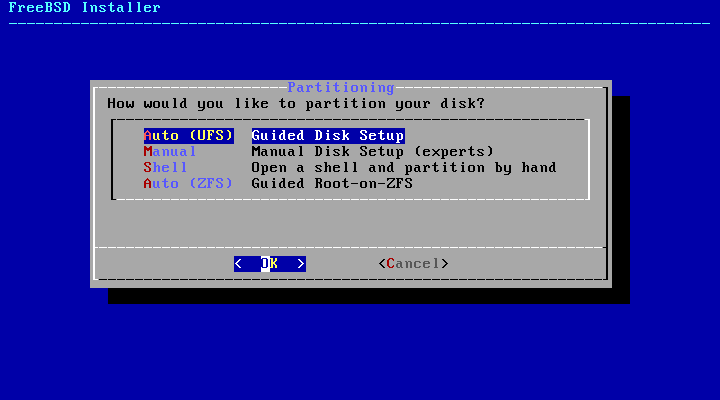
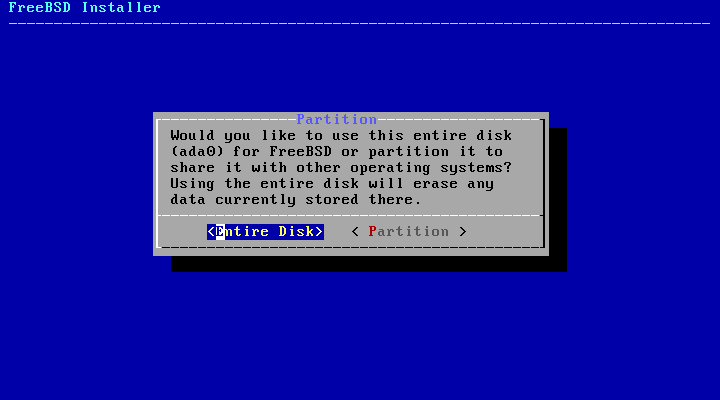
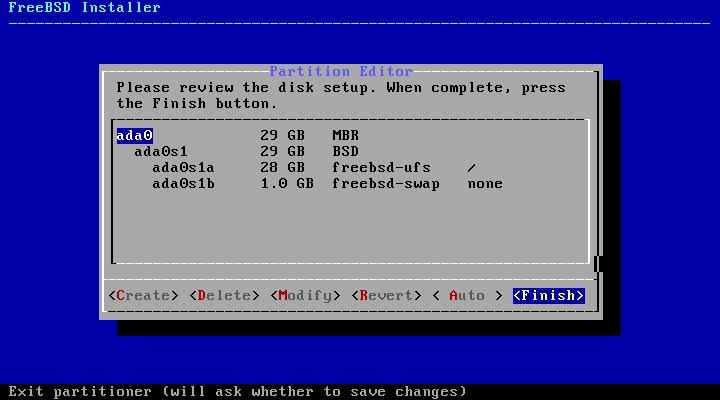
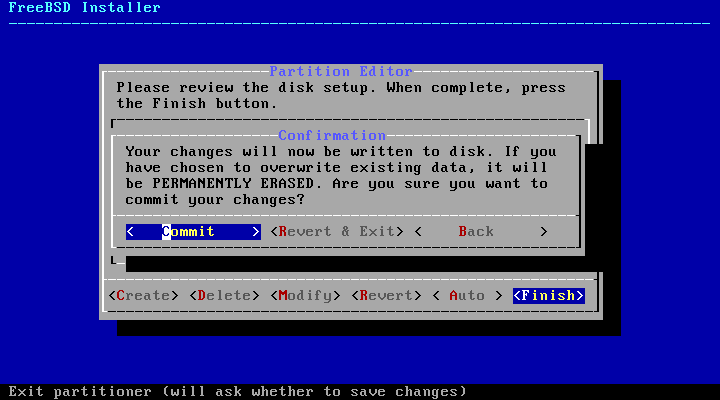
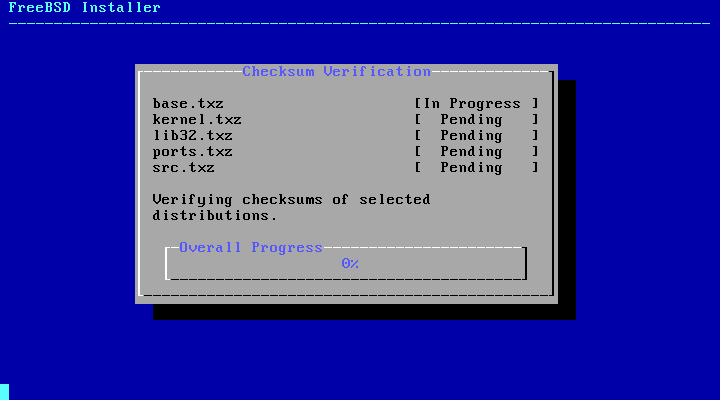
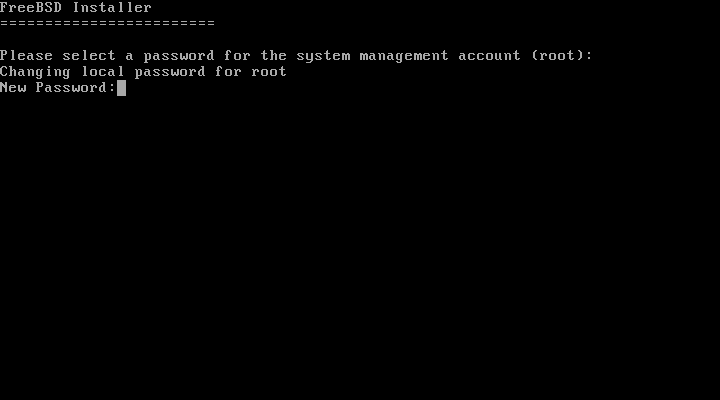
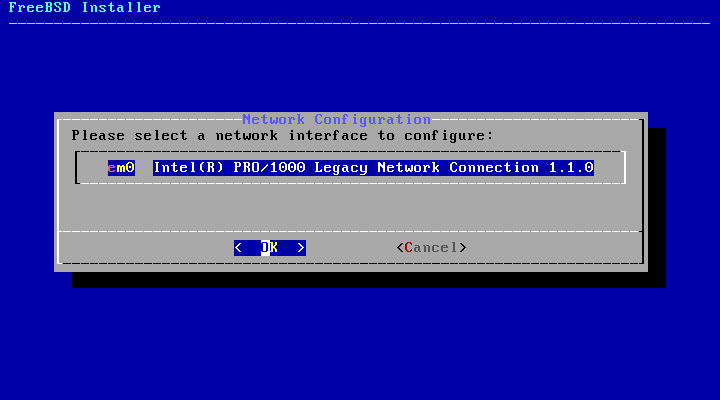
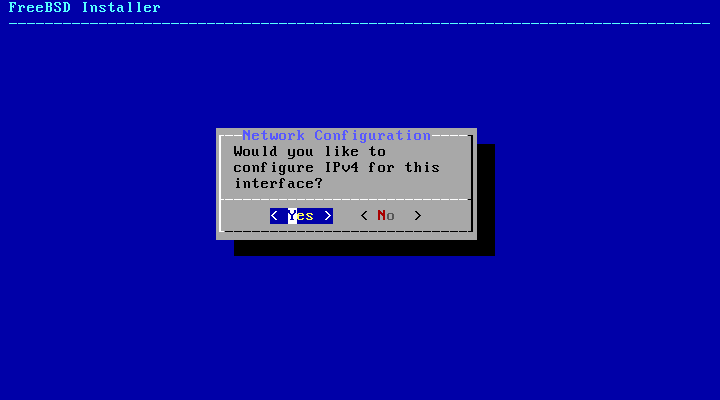
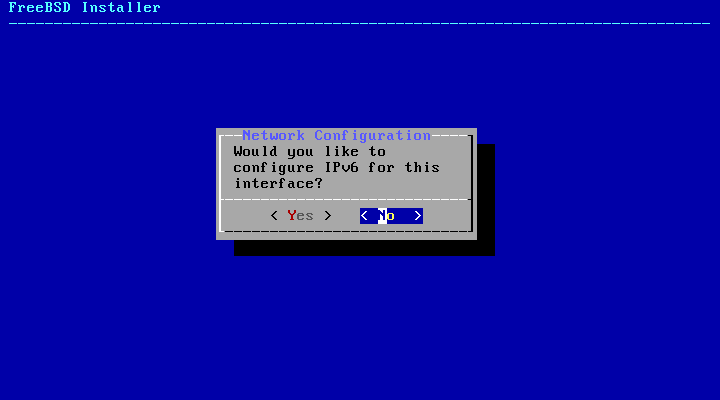
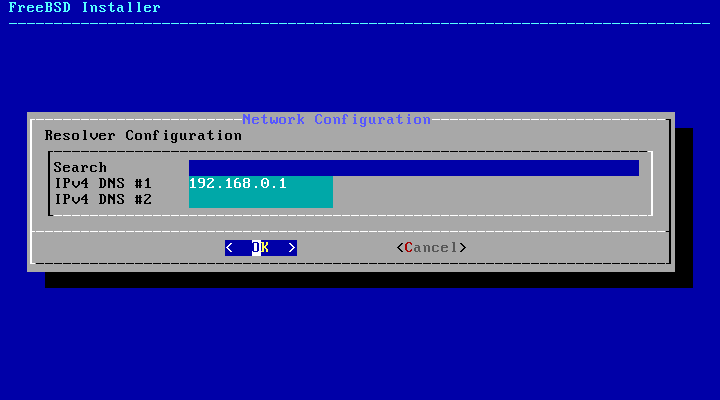
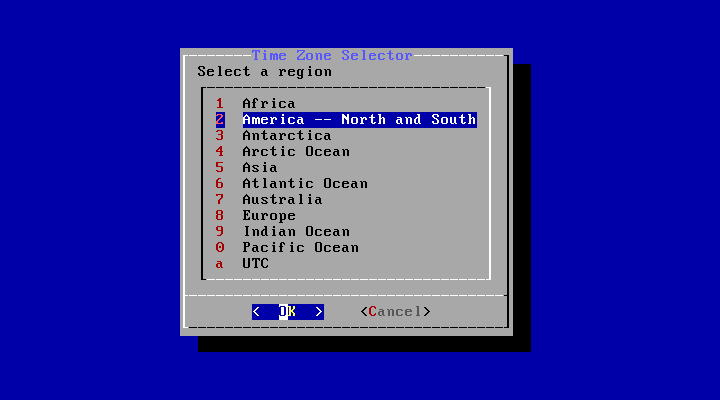
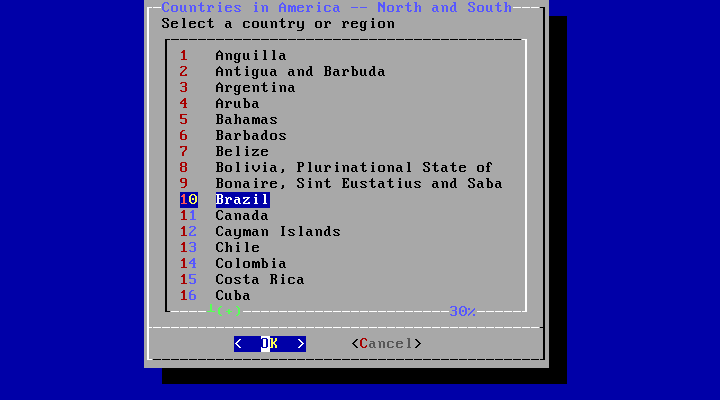
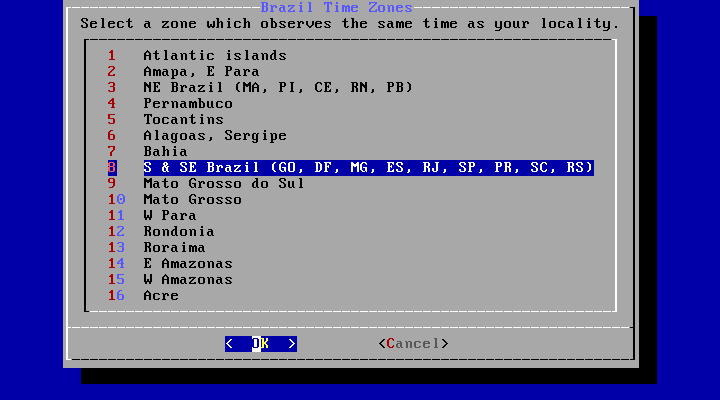
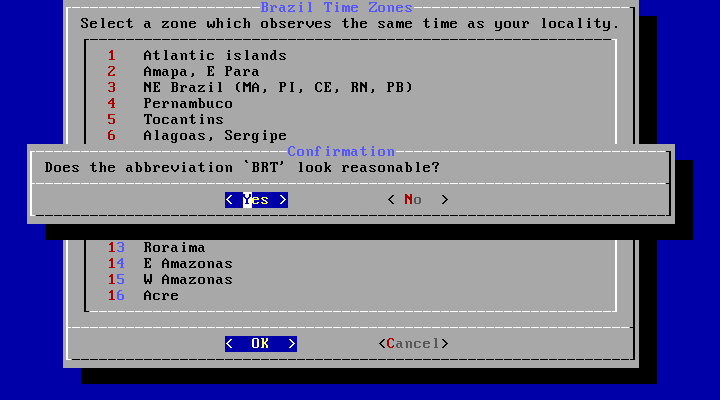
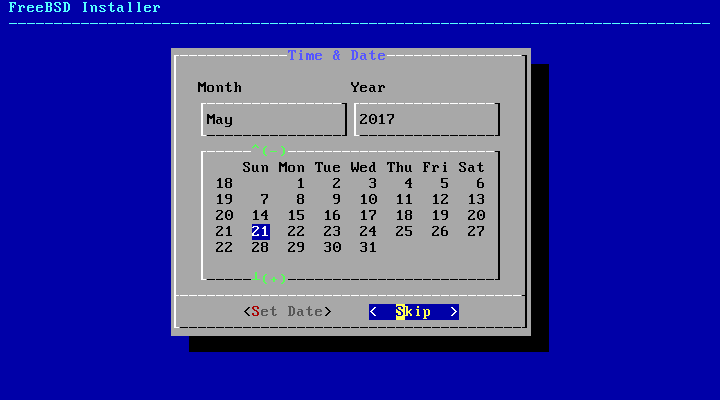
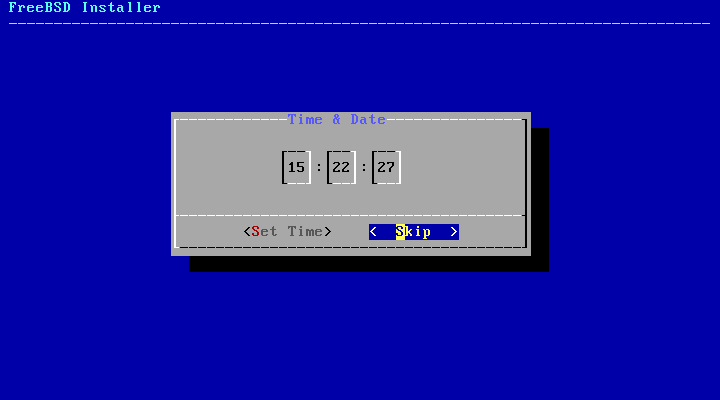
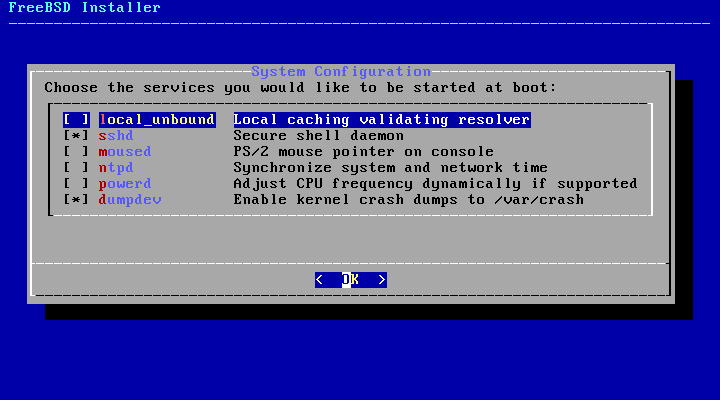
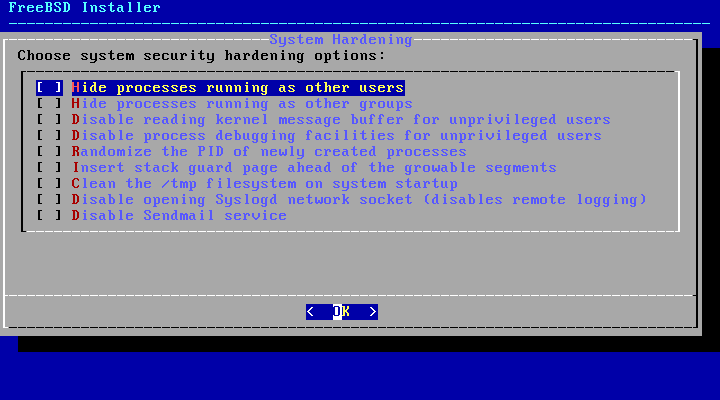
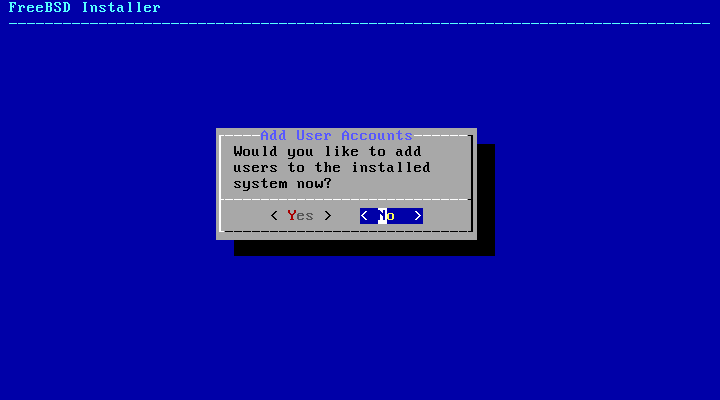
I did print all the installation screens basically without any changes, just follow them all to finish.


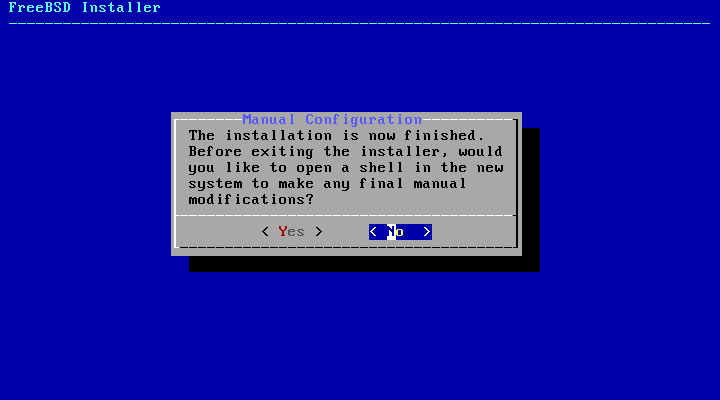
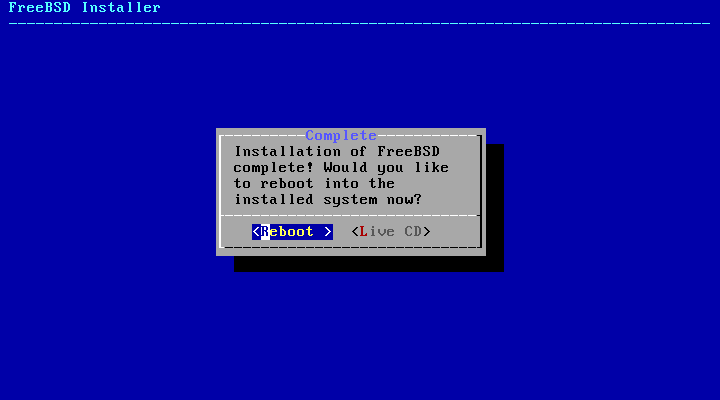
Ready! Now it is necessary to shut down the virtual machine and change the boot order again. Run the command:</p>
VBoxManage modifyvm $VM --boot1 disk --boot2 none --boot3 none --boot4 noneFreeBSD installed and running, have fun!
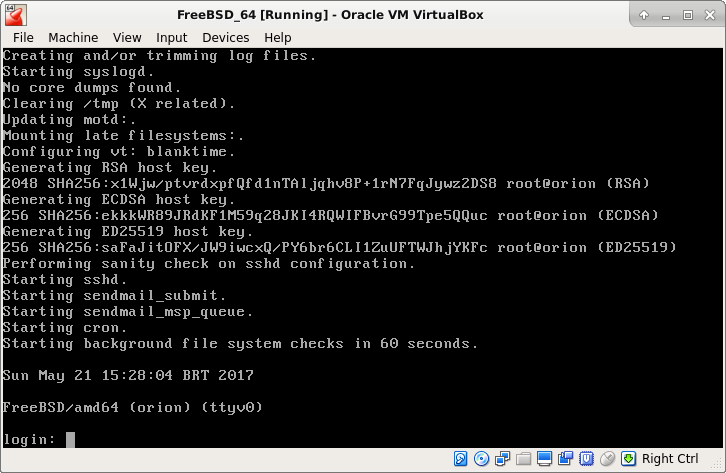
In case of doubts the documentation of the FreeBSD is quite updated see in: Handbook.